Cats are pros at personal hygiene and maintenance. However, their ears are one of those areas that they, unfortunately, cannot groom effectively, and sometimes they need a good clear out.
But, unsurprisingly, it can be slightly difficult to get them to cooperate. We’re going to explain how to clean your cat’s ears when the time comes, as well as some pitfalls to avoid in the process.

Before You Get Started
- You never want to use any hard objects in your cat’s ears. You should only use soft materials that are completely feline-safe. We recommend using cotton pads, as these are gentle and readily available. But you can also use cotton wool balls or gauze. Ear cleaning wipes are also available.
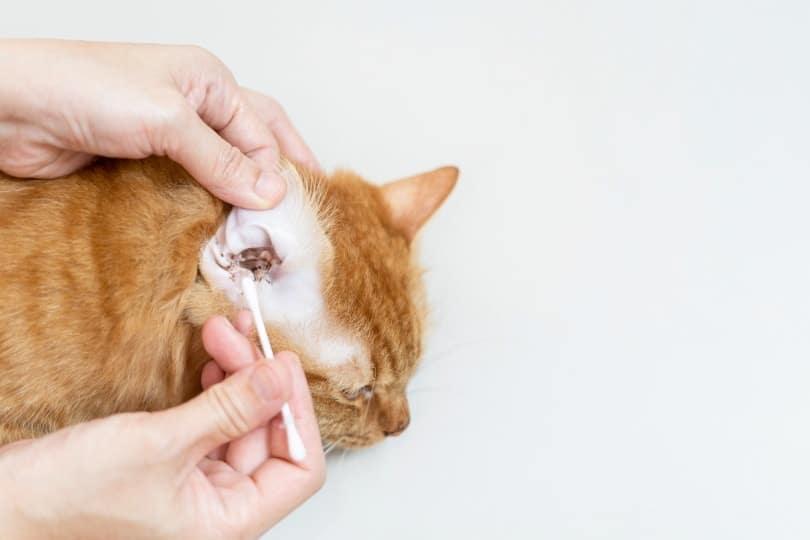
- Be very careful when using Q-Tips. You could damage your cat’s ear canal or just end up pushing the dirt further down. We recommend avoiding using something of that size down the canal, but they are okay for gently cleaning out the wrinkles on the inner ear flap.
- If they are scared of having their ears cleaned, it can cause resistance and subsequently hurt them or even you. Take it slow and calmly when cleaning their ears and ensure you also offer treats frequently whilst doing it to help them associate ear cleaning with a pleasant experience.
- To avoid injury to your cat and yourself, it is always best to have a helper, one who can hold the cat and the other who can clean the ears. If you don’t have another person to help you and you don’t feel comfortable doing it on your own, you can also take your cat to your vet or groomer to get the job done.
- You should never put any liquid in your cat’s ears unless it is specifically made for cat ears and your vet has authorized it.
How Often Should You Clean Your Cat’s Ears?
The good news is that you don’t have to clean your cat’s ears often unless instructed otherwise by your vet.
The only time that you should clean your cat’s ears is if you see a buildup of wax collecting that needs to be removed. You should be able to visibly see it on the outer surface of the ear.
On average, you can expect to clean your cat’s ears once every 2 to 3 months at the most.
Supplies
- Ear cleaning solution approved by your vet
- Cotton wool
- Towel
- Washcloth
- Treats

The 6 Steps for Cleaning Your Cat’s Ears
Cleaning your cat’s ears doesn’t have to be a challenge, but you do have to be prepared.
Once you have the time and supplies, you can quickly clean your cat’s ears and not have to bother them again for a few months. Let’s get started!
1. Grab Your Partner & Supplies
Before you even try to rope your cat into cooperating, it’s best to have your partner and supplies on standby. Sit in a comfortable spot where you can hold your cat adequately. You can even calm them by giving them a good fuss before you start the process.
2. Have Your Towel Ready
Ear solutions can be messy. To prevent dripping, get your towel ready to catch any liquid that might not make it into the ear canal or that your cat shakes off. This will eliminate messes and keep your cat and your clothes dry.
3. Gently Apply Ear Solution
When you’re ready, apply a small amount of your ear-cleaning solution as directed by your vet. Your solution might vary slightly depending on the brand, so always make sure that you read the instructions for the particular product you ordered.
For optimal results, you can let the solution sit in the ear to work up any gunk that might be difficult to remove. The formula gently softens wax and debris to lift them from the surface. This eliminates wiping or irritating the skin unnecessarily.
4. Rub Lightly
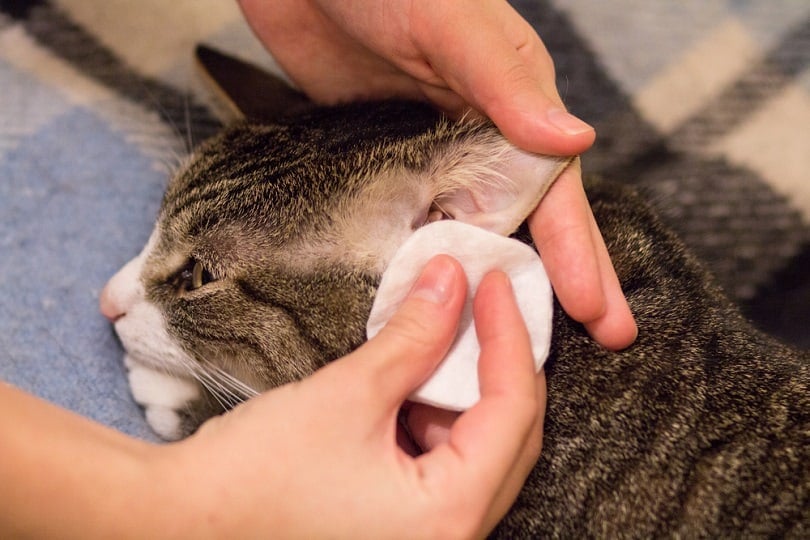
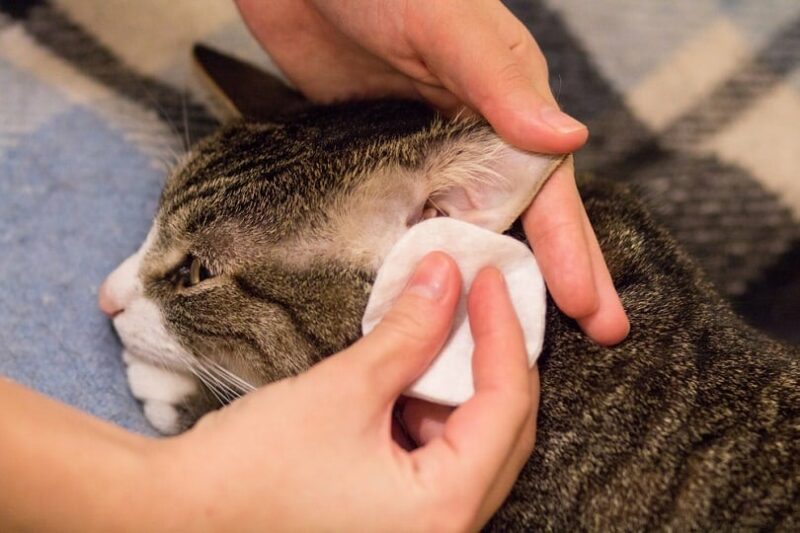
Rub your cat’s ears gently to distribute the product, and then lightly wipe the inside of your cat’s ears with the cotton wool. You do not need to get down into the ear canal. Only wipe the external portion that you can see with your eyes in a base-to-ear tip direction.
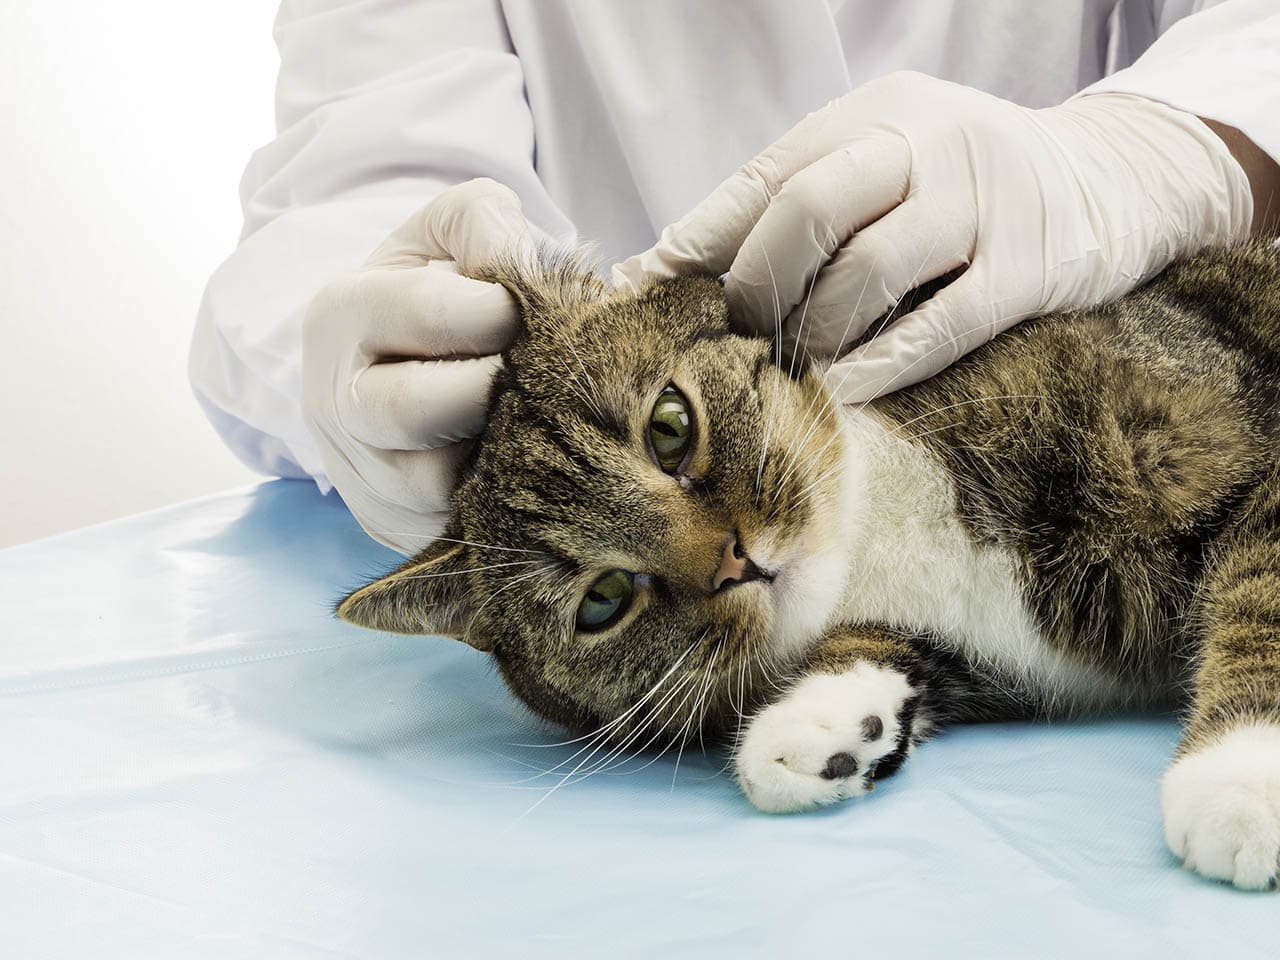
If your cat appears to have any kind of ear infection down in the canal of the ear, take them to your veterinarian for a check-up and prescription medication. Ear infections may look like red, sore ears and yellow discharge.
Trying to clean too deeply can cause pain.
- Gentle Care For All Pets - Infused with moisturizing hypoallergenic ingredients & enriched with...
- Deep Cleans From Head to Tail - Tackle the toughest dirt & messes with our extra strong pet wipes...
- Freshness On The Go - Each dog grooming wipes pack contains 30 counts of premium dog wipes that...
Cleaning your cat's sensitive areas can be tricky, but high-quality wet wipes can make it much easier. Try a natural, hypoallergenic option like Hepper's Wash Wipes, made with moisturizing ingredients and specifically designed to gently clean your cat's skin and fur. These wipes are as convenient as they are effective!
At Catster, we’ve admired Hepper for many years and decided to take a controlling ownership interest so that we could benefit from the outstanding designs of this cool cat company!
5. Pat Dry
Once you have removed any gunk with a cotton pad, you can pat the ear dry to remove any excess moisture. Your cat will probably shake their head, which also dislodges some wax and ear cleaner.
6. Release the Beast
After you have finished with this part and given your cat their favorite treat, it is time to let your kitty go. They’re probably eager to get away, making this part pretty easy.
Now, how long it will take them to forgive you and accept chin scratches is another story. They might be mad for a little while but don’t worry. They’ll get over it, and they’ll be better off for it, too.

Which Ear Solutions Works Best?
There are tons of products on the market from very reputable brands that make suitable ear solutions for felines. These solutions are specifically formulated to be gentle and cleansing for feline ears. Just make sure you double-check with your vet that the product you have chosen is safe for your cat.
When it comes to figuring out which one of them is best, it will depend on your preference and that of your cat. Some solutions are a little bit more heavy-duty than others, catering to cats who have more severe buildup in their ears.
If you’re just getting a solution for routine cleaning, you might need just a basic cleanser. However, if your cat is prone to frequent ear infections or a lot of drainage, you might need something a little more potent and even possibly something prescribed by a veterinarian. If your cat has an infection, a trip to the vet is definitely in order. Do not try to treat an ear infection with an over-the-counter cleaner.
What Causes Ear Infections in Cats?
Many underlying problems can lead to ear infections. These include skin allergies, ear mites, foreign objects, and more.
If your cat gets a yeast or bacterial infection in their ears, you might notice them digging and scratching at their ears and crying like they’re in pain or head shaking. Ear infections can be quite painful and also itchy. So, while your cat can’t resist the urge to scratch, it also hurts them.
Anytime you are bathing your cat, if you do so, it is important not to get any water into the ear canals. Always dry your cat’s ears thoroughly after baths, and avoid pouring water directly onto their head. Instead, use a damp washcloth to wash the areas around their face.
Some dietary issues can also cause ear infections. If your cat is sensitive to something in its diet, it can cause frequent ear infections.
If you notice that after switching to a new cat food these issues started, or you noticed it within the first year of life, it could definitely point to an ingredient in the cat food being a trigger.
To rule out food-related allergies, you should get them to your vet for routine testing. Your vet might recommend food trials for your cat.
Whole grains get plenty of backlash; they’re perfectly safe for cats in most situations. Rather than grain allergies, meat allergies are far more prevalent. However, your cat can also be allergic to dairy or eggs.
They might also be sensitive to certain food dyes and other additives that you might not suspect right away. Each cat is different, so there is no one-size-fits-all answer. If your cat is having ear issues, the best solution is to consult with a professional on a case-by-case basis.

Conclusion
Cleaning your cat’s ears is a routine part of regular care. If you were unfamiliar with the process, it won’t take much to familiarize yourself, making sure you’re keeping your cat protected in the meantime.
With any luck, you’ll have an obedient cat who will at least tolerate you cleaning out their ears. Remember, if you have an extra fidgety pal, they will possibly require extra restraint, so ask a family member or a friend to lend an extra pair of hands.
See also:
- Healthy Cat Ears: 6 Vet-Verified Care Tips
- Why Do Cats Like Q Tips? 3 Possible Reasons & Vet-Reviewed Safety Tips
Featured Image Credit: Te9I, Shutterstock
Contents
- Before You Get Started
- How Often Should You Clean Your Cat’s Ears?
- Supplies
- The 6 Steps for Cleaning Your Cat’s Ears
- 1. Grab Your Partner & Supplies
- 2. Have Your Towel Ready
- 3. Gently Apply Ear Solution
- 4. Rub Lightly
- 5. Pat Dry
- 6. Release the Beast
- Which Ear Solutions Works Best?
- What Causes Ear Infections in Cats?
- Conclusion

